The Ultimate Guide to Making A Wrist Corsage
When you plan a wedding, you probably think about all the details—the flowers, the decor, the food. But what about the accessories? A wrist corsage is a pretty special addition to any wedding and should be given some careful thought. In this blog post, we will provide you with all the information on how to make a wrist corsage that will be sure to impress. We’ll discuss everything from how to select the right flowers to choosing the perfect ribbon. We even have a step-by-step guide for making your own corsage! So mark your calendar and read on for everything you need to know about making a wrist corsage for your special day.
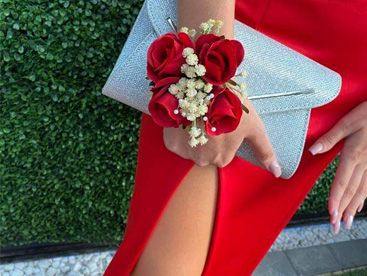
What is a wrist corsage?
A wrist corsage is a beautiful way to show your love for someone. It's easy to make, and can be made in any color or style you want. Here are some tips on how to make a wrist corsage:
1. Choose the right flowers. You can choose any flowers that you like, but make sure they are small enough to fit inside the corsage design.
2. Choose the right ribbon. You will need a cord or ribbons of the same color as your flowers to make the corsage look perfect. Be sure to choose a sturdy ribbon so it won't fray when you are tying it around your partner's wrists.
3. Choose the right craft supplies. You will need scissors, wire cutters, a sewing machine, and adhesive tape (or hot glue).
4. Cut the ribbon into lengths that correspond with the width of your partner's wrists (or as close to that as possible). Make sure each length of ribbon has a loop at one end so you can easily attach it to the wire cutters later on.
5. Carefully cut out two identical circles from the adhesive tape or hot glue (this will be your corsage frames). Make sure they are both slightly larger than your flower petals so they will fit comfortably inside them when finished.
Materials you'll need
For this project, you'll need:
Wrist corsage ring (or a metal band)
-spool of floral wire
-Beads
-Scissors
-Ruler or straight edge
-Pins
Instructions:
1. Start by cutting the wire about 18 inches (45.7 cm) long. Make sure to keep the coils uniform in length.
2. Thread one end of the wire through the corsage ring, and make a small loop by bending the wire up halfway.
3. To finish, tuck the remaining end of the wire through the loop and pull tight so that it's secure. There should now be two loops on each side of the ring.
4. Take your beads and thread them through one of the loops on either side of the ring. Pull tight to secure them in place.
5. Repeat these steps with as many beads as you like, making sure they're evenly spaced around the circumference of the ring. You could also add some extra decoration between each bead using a needle or hole saw if desired!
How to make a wrist corsage
If you’re looking for a quick and easy way to make a wrist corsage, this tutorial is for you! All you need are some spring flowers, wire, and a few tools. Here’s how to do it:
1. Open the flowers and remove the center stem. This will give you two long stems.
2. Use one of the stems to create a U-shape with the other stem in the middle. Secure with wire if desired.
3. Arrange the flowers around the wire form and tie them in place using a bow or ribbon.
Conclusion
A wrist corsage Brisbane is a beautiful way to show your love for someone special. Whether you are planning an intimate wedding or just want to add a special touch to an event, creating your own wrist corsage is simple and easy. In this guide, we will teach you the basics of making a wrist corsage and provide some helpful tips along the way. So whether you are looking to make a special occasion even more special or just want to add a personal touch, our guide has everything that you need!


Comments
Post a Comment